Front Coil Spring Lift
By Amceaglenest administrator Gil-SX4
Front Coil Spring Lift.
One of the best inexpensive ways to do a 2” lift on an original configuration Eagle is by using a 1” spacer. There are some made of metal and if you can find one made of polyurethane. Or better yet a longer coil spring.
By using a 1” spacer either on the top or bottom of the coil spring, the end result will be pretty close to 2” lift a bit higher or lower, there will be a difference from car to car. If you use polyurethane there will be some compression to the spacer.
Lift the front of the vehicle making sure to use jack stands. Remove the tire and wheel giving you access to the suspension control arms. Remove the shock absorber followed by the strut rod and half shaft. Take this time to inspect and repair the half shaft.
Next step is to remove the steering knuckle. Change the bearing in the axle hub, also, get some new lower and upper ball joints.
Now go ahead and remove the lower control arm.
Here is where the hard part starts. You’ll need to use a coil spring compressor. Be very careful for if they slip they can jump off with such force that they can kill you or anyone they hit. If at all possible use the AMC specialty tool J-23474 front spring compressor. The last thing left to remove is the spring seat and the upper control arm.
Take advantage of having everything off an clean all the parts and carefully inspect parts for bends or cracks, fix and change as required, repaint them and most important change all the bushings, bearings, ball joints and hardware. It is cheaper to do it now than to wait 'til they need to be replaced.
Ok you got everything stripped off and clean, go out and purchase all your parts and get them together and ready for installation.
If you are going to use a coil spring spacer, take the coil spring along when shopping for the spacer to make sure the parts mate right.
If you are going to go with the longer coil spring, which I think is the better way to go, you’ll need to take in to account the compression ratio of the spring to figure out how long it will have to be to get the desired lift, any good spring shop will be able to help you out here. Once you’re ready to start rebuilding, the upper control arm and the spring seat go in first followed by the spring itself. Here is where it is tricky... if you are using a spring spacer the parts need to be align in the correct position to avoid future problems.
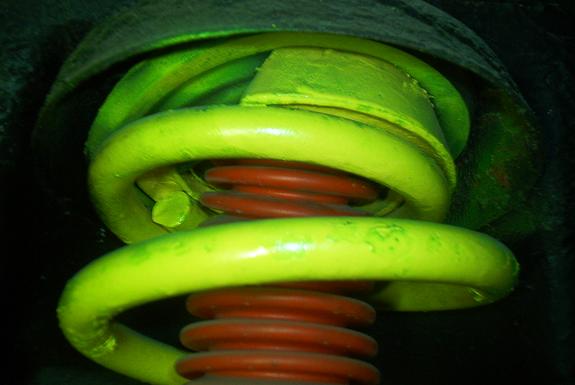
Pic of Coil Spring spacer installed.
Once you’ve install the coil spring it is just a matter of putting all the parts back together and having the suspension aligned.
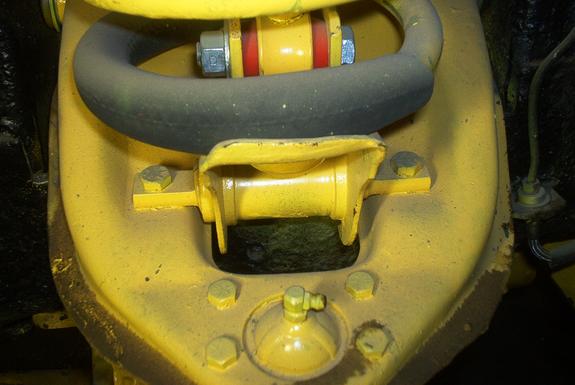
Pic of Coil Spring mount.
Now you can go and do the other side. For a 2”lift there is no need to lower the differential it would be better but not required.
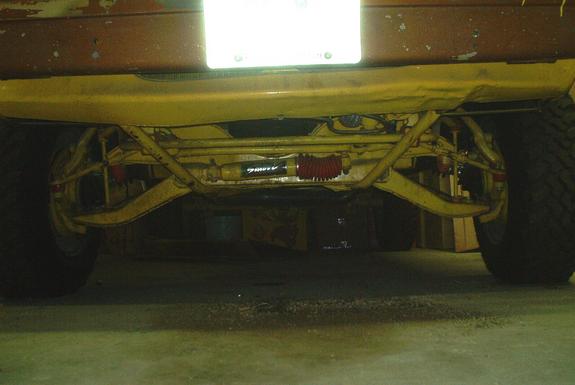
Pic of lifted front suspension.
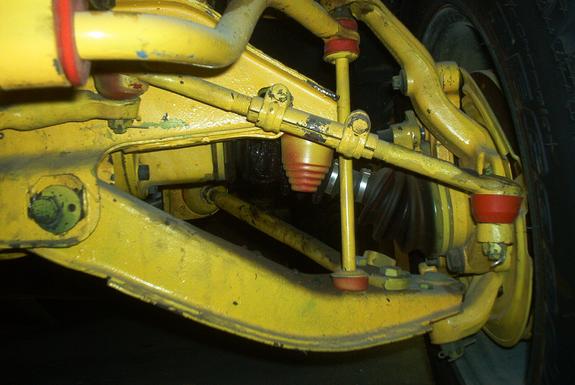
Pic of lower control arm.
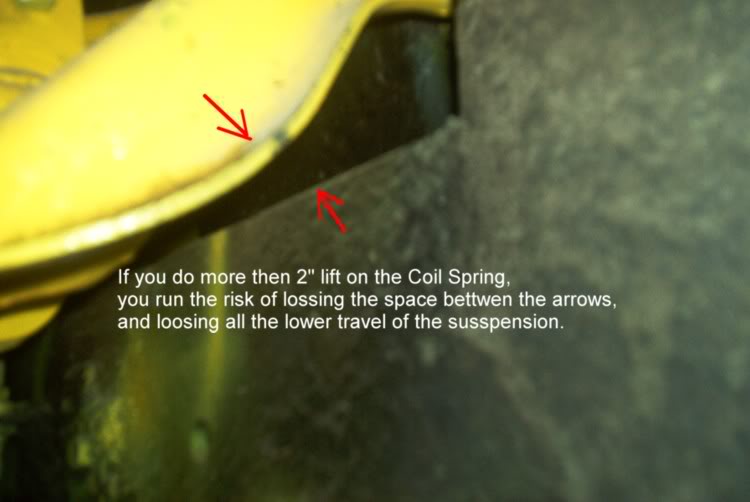
As you can see the angle for the half drive shaft is steep. The suspension still has to be broken in, it will come down a bit not sure yet how much. The reason you can only get about 2 inch lift from a longer spring coil or spring coil spacer is that the top suspension arm hits the frame, and you must leave some travel for the arm or you will have no lower travel.
